

INTRODUCTION
Whether they are novices or seasoned experts, painters often discuss headphones drawing. One of the best exercises in learning perspective, symmetry, and fine detailing is sketching headphones. This lesson will walk over several methods for drawing headphones, detailed directions, and artistic inspiration to help your work.
Why Get Headphones?
An everyday item, headphones provide a familiar but complex topic for artists. Making them helps one grow: Knowing circular and cylindrical forms helps one develop perspective abilities. Including realism and depth, shading techniques help to Proportional accuracy – Design’s symmetry. Customizing designs for original artistic expression is creativity.
Tools for Headphones Drawing
Get the appropriate equipment before beginning to produce a thorough sketch: Graphite pencils (HB, 2B, 4B) for outlining and shading; fine liners or ink pens for bold outlines; eraser to correct errors; blending stumps for seamless shading; ruler and compass for accuracy.
Step-by-Step Guide for Creating Headphones
First: Draw the fundamental outline
Starting with gentle pencil strokes, shape the headphones’ overall form. For the ear cups, draw two circles then link them with a curved ribbon for the headrest.
Second step: Specify the structure
Change the dimensions to improve the forms and include internal ear cushioning. Make sure both ear cups are symmetrical and exactly matched.
Step 3: Add specifics
Improve realism through sketching. Light cross-hatching might show delicate cushioning in pading texture. If you are sketching wire headphones, show the cable running from the ear cups. Customize your drawing with imaginative ideas to create a brand logo or personalized design.
Fourth step: Highlights and shading
For depth, hatching and cross-hatching Use blending techniques to flatten the shading. To accentuate the metallic or plastic look of the headphones, add highlights using a white gel pen or eraser.
Step Five: Last Notes
Erase undesired pencil lines, change shade to improve depth, and outline with a fine liner for a polished effect.
Various Headphone Drawing Styles
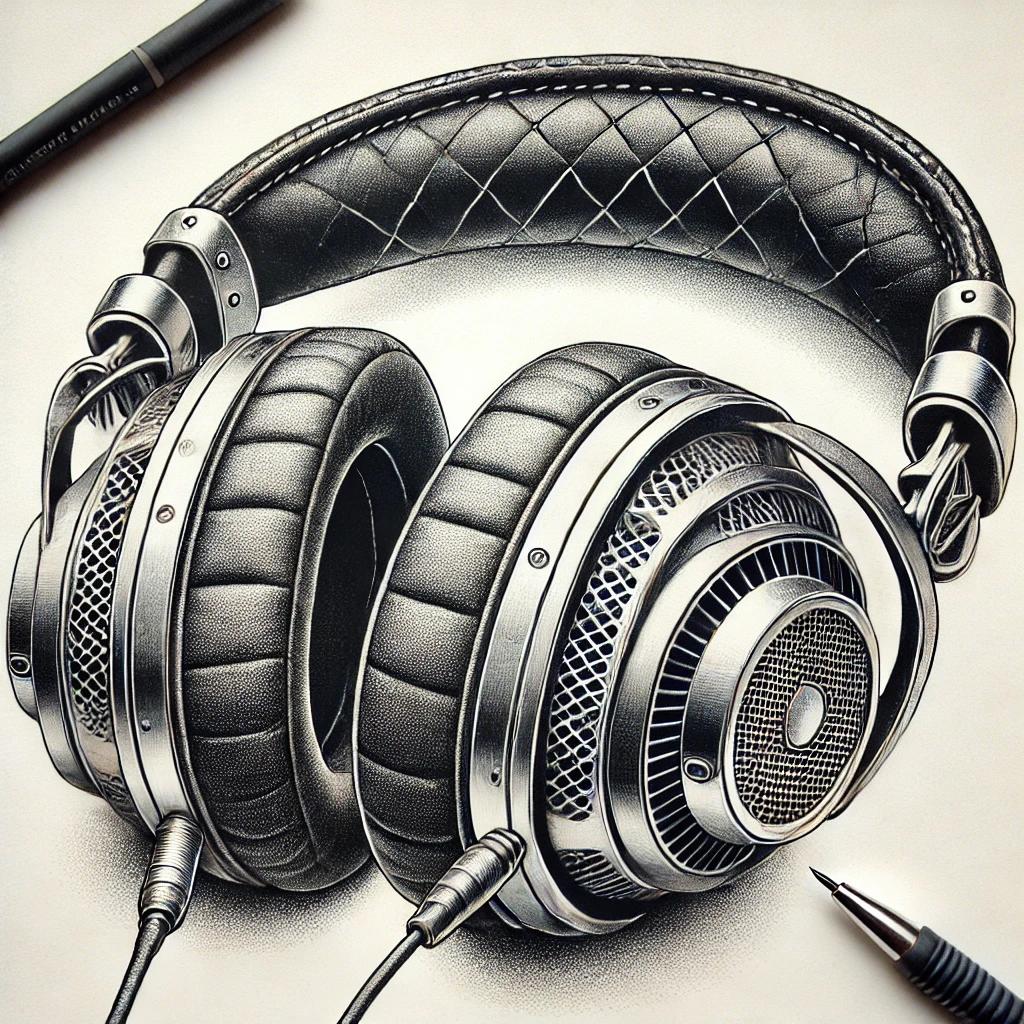
Realistic Headphones Drawing
Emphasize minute details including shadows, leather texture, and reflections in realistic headphones. Regarding: For a seamless and natural finish, use layering techniques.
Cartoon or Stylized Headphones
Simplify the form and add too strong elements. Play about with vivid colors and original designs.
Technical or Blueprints Style
Perfect for ideas of product design and technical sketches; draw using exact lines and measurements.
Typical Errors and Methods of Avoidance
- Use a ruler and guidelines to keep equilibrium in uneven symmetry.
- Flat look – Use shading methods to improve depth.
- Inconsistent proportions – Examine items against reference photographs.
- Start with a simple outline then add complex features too quickly.
READ ABOUT:“Headphones vs IEMs: Key Differences in Sound Quality, Comfort, and Performance”
FAQs About Headphones Drawing
1. How do I design realistic headphones?
Emphasize correct proportions, detailed shading, and textural features like leather or plastic reflections to create reasonable headphones.
2. How best would one shade headphones?
To produce realism and depth, use hatching, cross-hatching, and merging techniques.
3. Can I digital sketch headphones?
Absolutely! Easy modifications and exact detailing are made possible by digital programs as Procreate, Photoshop, or Illustrator.
4. How can I guarantee in my drawing symmetry?
Keep uniform dimensions on both sides using a light centerline, a ruler, or digital guidance.
5. Where may I get ideas for distinctive headphone designs?
To inspire invention, look at actual headphones, futuristic designs, or tech company idea sketches.
In conclusion
Learning headphones sketching is a gratifying exercise that improves creative ability. Learning several techniques will help you become more proficient whether your taste is for realism, cartoon styles, or technical drawings. Continually improve your technique, try different looks, and most importantly, enjoy the creative process!